
Rich Notifications for FREE with Home Assistant

As a Home Assistant user you might have noticed that the notifications your automations send you tend to be text only. Well what if you’ve got a smart doorbell or a security camera and you want to quickly see what was going on when you had a motion notification for example? Well rather than having to open up Home Assistant and find the camera feed, or open up your camera app and view its history, wouldn’t it be easier if Home Assistant just sent you a photo along with the notification? Well that’s exactly what I’m going to show you how to do in this article.
I'll be demonstrating this process using my Reolink Video Doorbell because I’ve got it installed and it’s easy to use, but you can use any camera feed you like so long as you have it available in Home Assistant. There are a few steps required in order to get this working.
1. Configure External Access for Home Assistant
Home Assistant must be accessible externally from your home network. This is required so as the Home Assistant app on your mobile device can receive the notifications from wherever you are, and also so as the snapshot image stored on your Home Assistant server can be retrieved over the internet. There are a number of ways of configuring this including paying Nabu Casa (the company behind Home Assistant) a monthly fee. If you want a free way to achieve this though, I have created a guide for you - click here to read the tutorial, or watch the following video.

2. Install the Home Assistant App on your mobile devices
Open the app store on your chosen mobile device(s) - so the App Store on iPhones / iPads or the Google Play store on an Android device, and install the official Home Assistant app. Make sure you configure it to connect to the public / external URL of your Home Assistant installation which if you followed my guide in the previous step will be the duckdns URL.
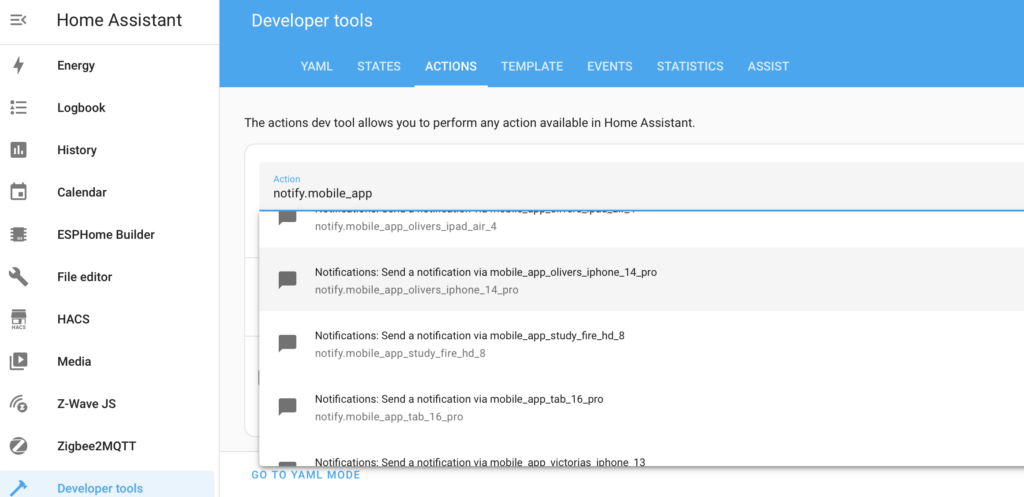
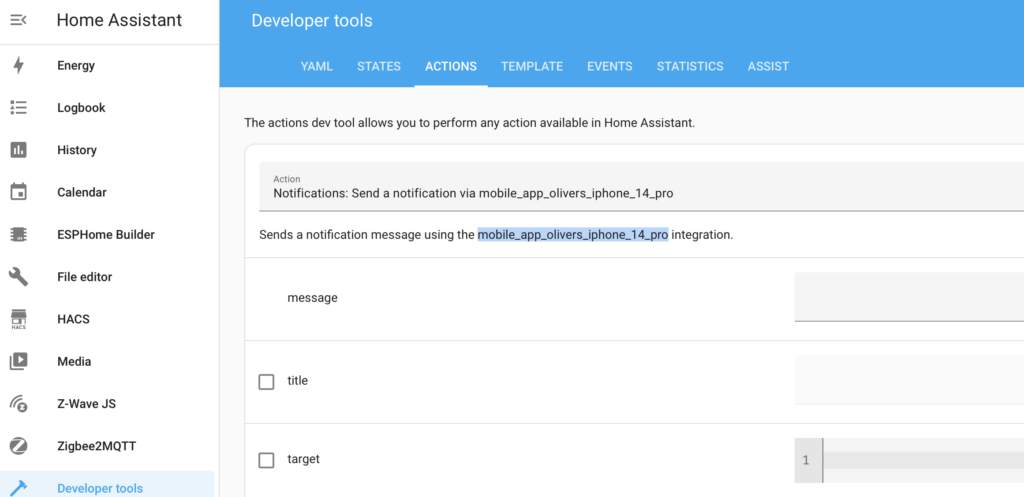
Back over in Home Assistant on your browser, navigate to Developer Tools > Actions. In the action drop-down list start searching for "notify.mobile_app" and you should see a list of all registered mobile apps. Select the one corresponding with the device you wish to send your notification to and make a note of the device name. I suggest copying and pasting it into a text editor for easy reference in later steps.
3. Allow Public Access to Snapshot Images
Our next step is to allow public access to the snapshot images from our camera in Home Assistant. To do this we need to edit our main configuration file. If you already have a way to do this then great... otherwise I suggest you install the File editor add-on. This is pretty simple to do:
- Navigate to Settings > Add-ons
- Click on the blue 'Add-on Store' button in the bottom-right corner
- Locate 'File editor' from the official add-ons section and select it
- Click on 'Install' and wait for it to complete the installation
- Click on 'Start' and I suggest toggling the 'Show in sidebar' option to on.
The File editor should now appear in your main left-hand menu in Home Assistant. Click on it to open, then choose the 'Browse filesystem' icon at the top of the list of files and locate the file named 'configuration.yaml'.
Near the top of the file you should see a line with the text 'default_config:'. Underneath that line we are going to add two more lines which will whitelist your 'www' folder as a public folder meaning anything within that folder is accessible from the internet. That section of the configuration file should look like this when finished, and note the spacing is very strict and specific:
default_config:
  whitelist_external_dirs:
    - '/config/www'
Once you've added that configuration, click on the 'Save' button in the top right corner and restart Home Assistant by navigating to Developer tools and click on the restart option on the YAML page.
4. Connect your Cameras / Doorbells to Home Assistant
Of course you'll also need to make sure that your cameras and/or doorbells are connected to Home Assistant so as it can retrieve a snapshot image or use any motion / button entities as triggers for your automations.
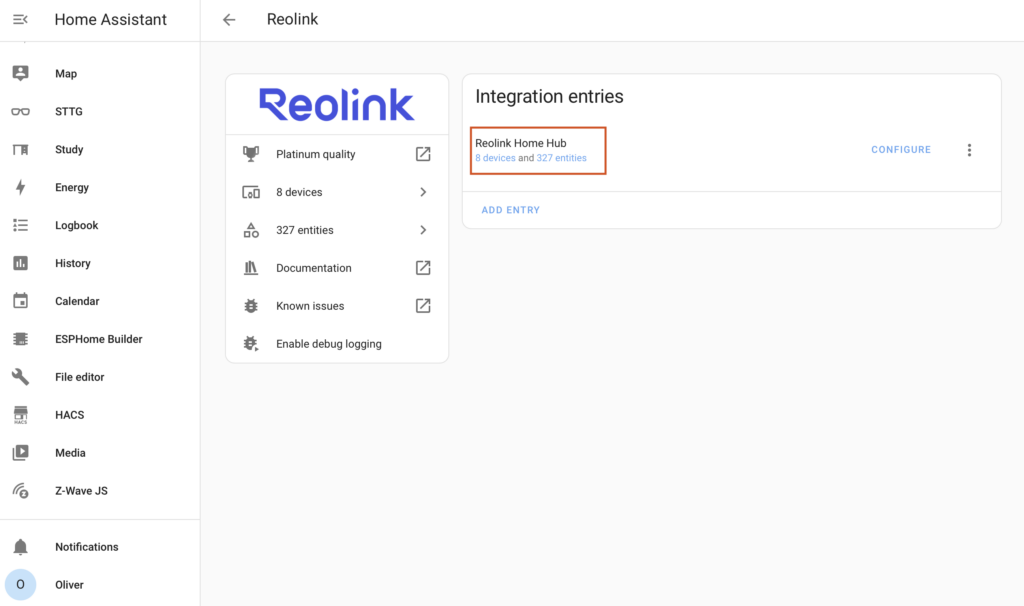
For Reolink mains-powered cameras and doorbells this is very straightforward because Home Assistant should automatically detect them. If you have battery-powered Reolink devices then these must be connected to a Reolink Home Hub first and then you can add the Home Hub (automatically!) to Home Assistant and your associated cameras and doorbells will automagically appear. If you have another brand of camera/doorbell then you'll need to research the best way to connect your devices. For example, eufy devices require the eufy Security add-on (https://github.com/bropat/hassio-eufy-security-ws).
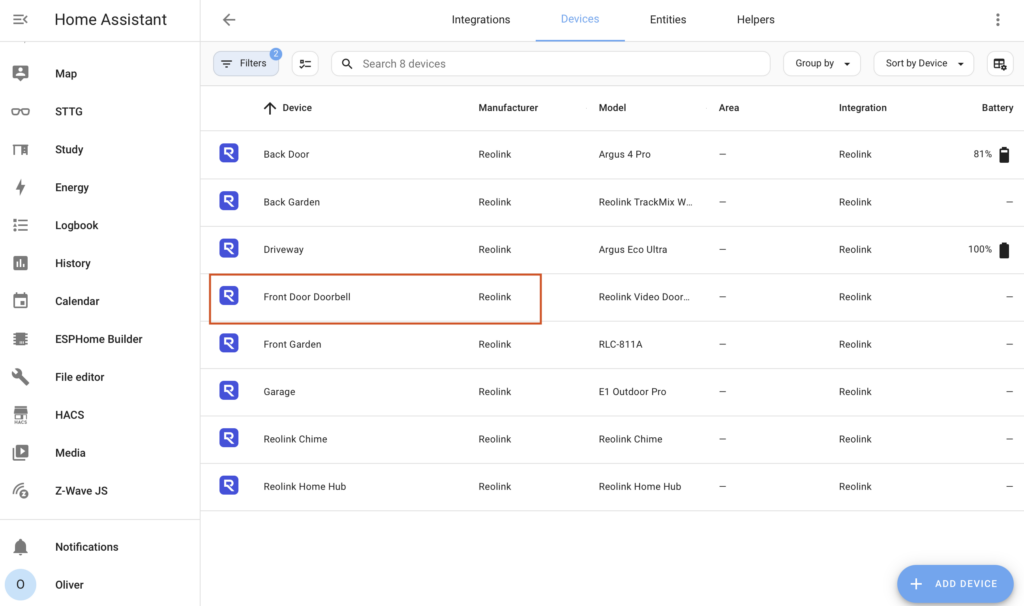
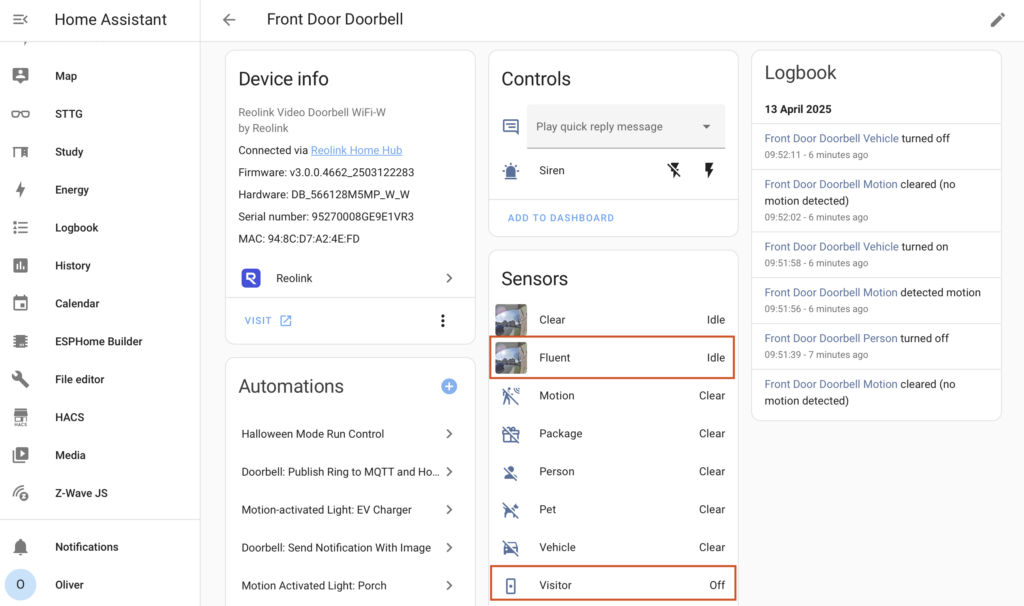
Once connected, you'll need to go and find your camera entity ID, and identify any entities you might be using as a trigger for your automation. For example you might use a motion sensor from the camera, a doorbell button press, or a third party sensor such as a smoke alarm.
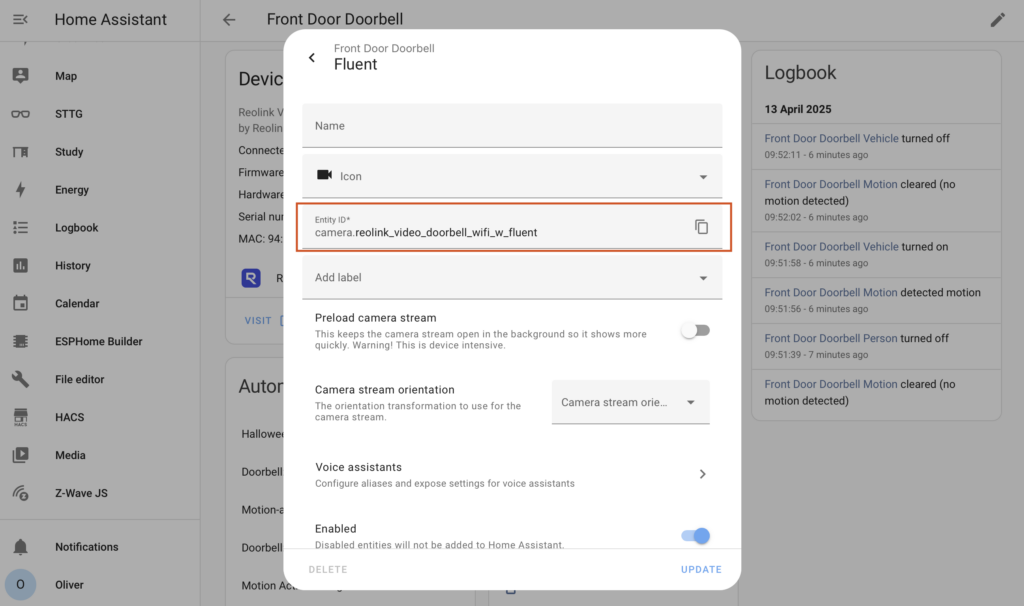
For this example I'm going to use my Reolink Video Doorbell and that presents the camera feed as an entity named 'fluent'. I'm also going to use the doorbell button to trigger my automation and the Reolink integration gives me a binary_sensor entity named 'visitor'. Locate your entity IDs and copy and paste them into your text editor for later use.
5. Create the Automation
Hopefully we've now configured enough components to make this work and we've collected all of the information we need along the way to create the automation. In Home Assistant navigate to Settings > Automations and Scenes and click on the "Create Automation" button in the bottom-right corner. Choose to create a new automation and then on the new automation screen right the three-dots icon in the top-right to open a menu and select 'Edit in YAML'. Delete the default configuration it creates and copy and paste the following automation configuration:
alias: Send Rich Notification When Reolink Doorbell Is Pressed
description: ""
triggers:
  - trigger: state
    entity_id:
      - binary_sensor.YOUR_TRIGGER_SENSOR_HERE
    to: "on"
conditions: []
actions:
  - action: camera.snapshot
    metadata: {}
    data:
      filename: /config/www/snapshots/FILENAME_HERE.jpg
    target:
      entity_id: camera.YOUR_CAMERA_FEED_HERE
  - delay:
      hours: 0
      minutes: 0
      seconds: 2
      milliseconds: 0
  - action: notify.mobile_app_YOUR_DEVICE_HERE
    data:
      message: Someone is at the door
      data:
        url: fb1675493782511558://
        image: https://YOUR_EXTERNAL_URL_HERE:YOUR_EXTERNAL_PORT_HERE/local/snapshots/FILENAME_HERE.jpg
mode: single
You will of course need to make a few changes to this code before you save. Replace the following placeholders as appropriate:
- YOUR_TRIGGER_SENSOR_HERE = replace this with the binary sensor for your trigger. In my example I have used the doorbell's 'visitor' sensor which turns on when the doorbell button is pressed.
- FILENAME_HERE = this should be a unique name to this automation and contain no spaces. For a doorbell, replace it with 'doorbell' for example, so as the line reads filename: /config/www/snapshots/doorbell.jpg. Note that this must be changed twice in the automation and both filenames must be identical. The first is telling the automation to save a snapshot of that filename, the second is telling the notification where the file is located.
- YOUR_CAMERA_FEED_HERE = the entity ID of your camera video feed. In my example this is the 'fluent' entity from my Reolink Video Doorbell.
- mobile_app_YOUR_DEVICE_HERE = this is the notify entity that starts with 'mobile_app_' which you should have discovered in step 2 after configuring the Home Assistant mobile app.
- YOUR_EXTERNAL_URL_HERE = this is the URL that you access your Home Assistant installation from externally. If you followed my guide in step 1 then this should be a duckdns.org address.
- YOUR_EXTERNAL_PORT_HERE = this is the port that your Home Assistant installation is accessible from externally. If you followed my guide in step 1 then this should be 8126. If you are using a Nabu Casa subscription then the port is 443 (or you can just leave the whole :port part out of the URL totally).
And that's it! Save the automation and it's ready to test. You can either trigger it properly to test by pressing the doorbell button or otherwise activating your trigger entity, or you can just quickly test it by running the actions only - to do that you click on the three dots icon in the top-right of the automation to open the menu and select 'Run actions'.