
Cycling RGB LED Colours with Home Assistant

It’s easy enough to set the colour of your RGB LED light bulb or strip to a specific colour using a colour picker in the Home Assistant app or the bulb manufacturer’s app, but in reality most people only use a few set favourites. So wouldn’t it be easier if we could just use a physical button to cycle through those presets?
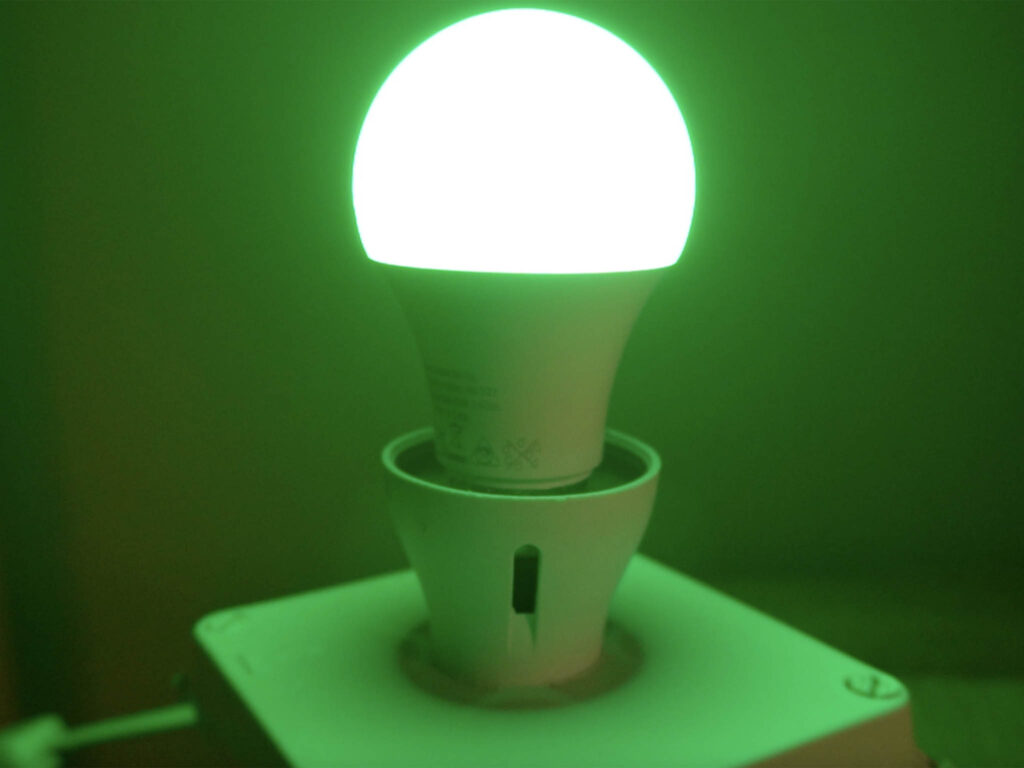
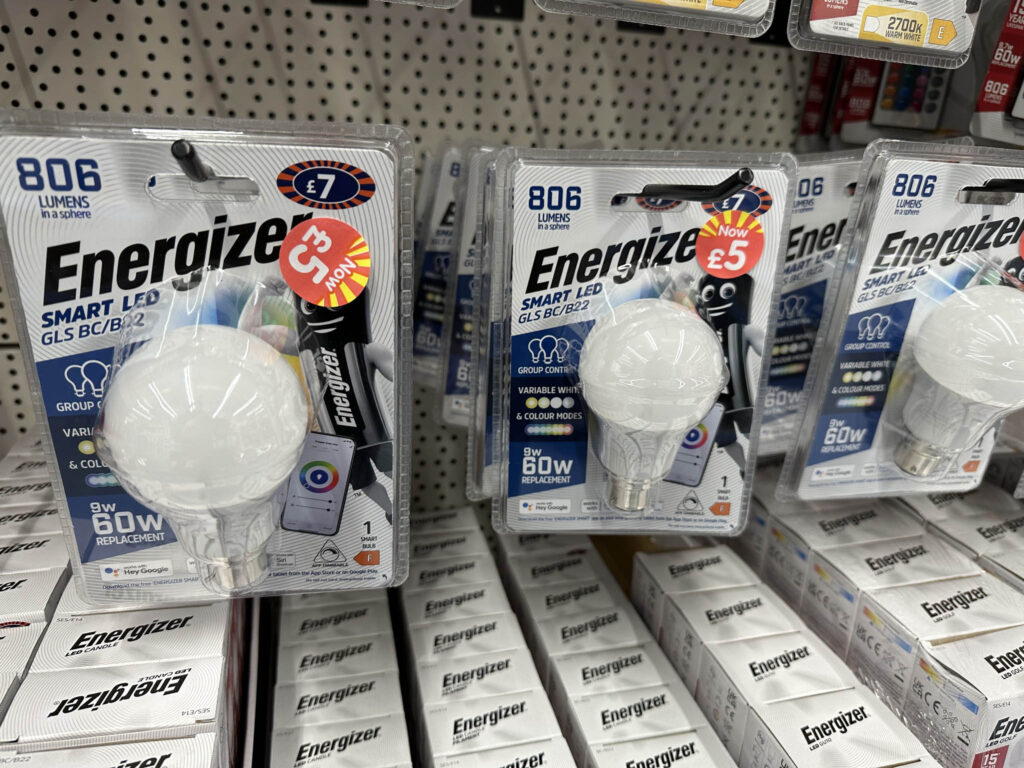
I’m going to be using an Energizer RGB LED bulb in this demonstration, which is a Wifi-connected Tuya-compatible device. If you’re in the UK, you can pick these up for a fiver from B&M. I’m going to control the bulb with an Ikea smart button which responds to a short or a long click of the button. This is a Zigbee button so you do need a Zigbee controller in Home Assistant, like a Skyconnect or Conbee stick, but you could just as easily use another brand of Wifi or bluetooth connected smart switch, or even a virtual helper button in Home Assistant if you wanted. I’m using this button because it’s simple and I have a spare one to use for this demo. Now the first thing we need to do is figure out which colours we want our bulb to show.
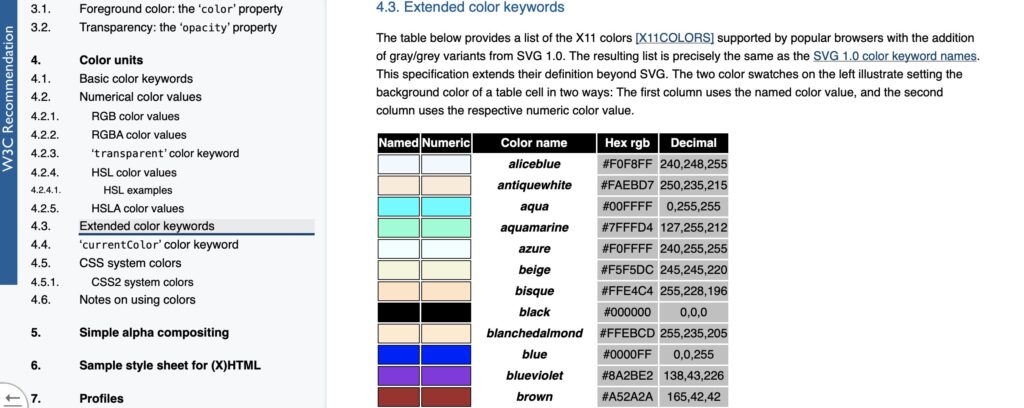
The easiest way to do this is to visit the w3c web site and look through the extended colour keywords list. I’ll put a link to this site in the description, but basically write down a list of colour names from that you want to cycle through each time you press the button. So for example you could choose aqua, blue, crimson, deeppink, green, whatever you want, just make a note of them and the order that you want them in. Obviously, the longer you make that list, the more annoying it might be to cycle around to the colour you want so just keep that in mind! Next we need to create a dropdown helper in Home Assistant to store this list of colours.
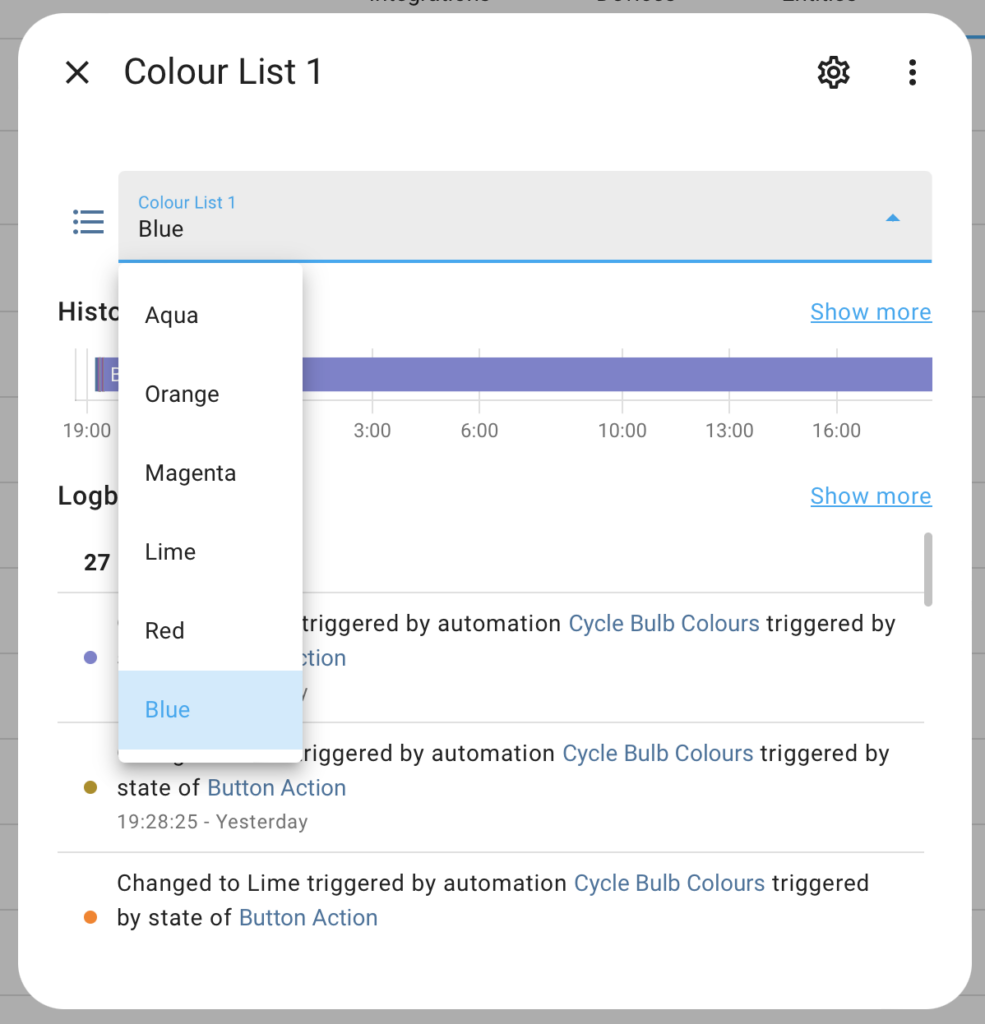
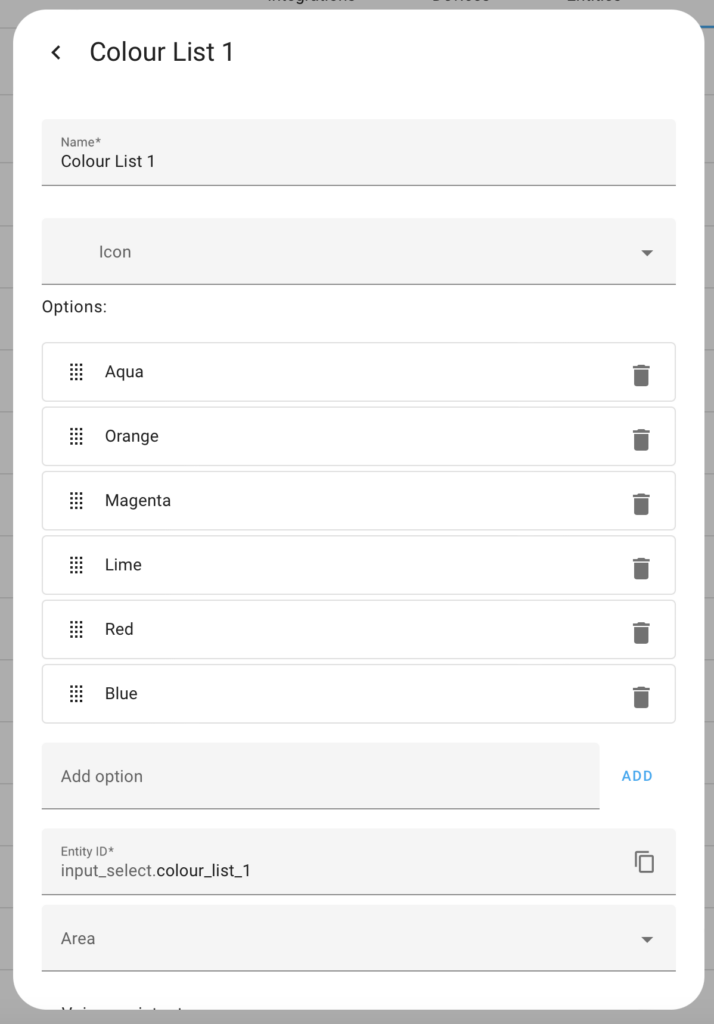
Click on Settings > Devices & Services, and Helpers at the top. Click on the blue Create Helper button and choose Dropdown. Give the list a name, I’m going to use "Colour List 1". Then you can start adding in your colour names to this list making sure that they are named exactly the same as they are on the w2c list. When you’re finished, click on create.
The final part of this requires an automation which will trigger when you press the button and turn on your LED, setting the colour to the currently selected value in the dropdown helper. Then, it’ll move the dropdown value on to the next colour in the list, cycling it around to the start if necessary.
Ok so navigate to Setting > Automations & Scenes, then create a new automation and choose to create a new automation from scratch. Create your trigger using the GUI, in my case I am creating a state trigger for when my physical button's state changes to 'on'. However for the actions you will need to switch to YAML mode because the specific action to use requires a template, which isn't supported by the GUI. Check out my example code below, which you will need to tweak for your specific light's entity ID.
All this automation does is turn on the light entity passing in a colour name taken from the currently selected one from the dropdown you created earlier. It then cycles that dropdown (input_helper) to the next item in the list, or back to the start if applicable.
alias: Cycle Bulb Colours
description: ""
trigger:
  - platform: state
    entity_id:
      - sensor.button_action
    to: "on"
condition: []
action:
  - service: light.turn_on
    data:
      color_name: "{{ states('input_select.colour_list_1') }}"
    target:
      entity_id: light.test_rgb_bulb
  - service: input_select.select_next
    target:
      entity_id: input_select.colour_list_1
    data:
      cycle: true
mode: single