
Home Connect and Home Assistant

What is the point in a smart appliance? Is it just case of a company bolting smart functionality on to it just because they can? Spoiler alert, yes, it pretty much is. But in this article I’m going to show you the automation ideas that I’ve come up with for my smart appliances.
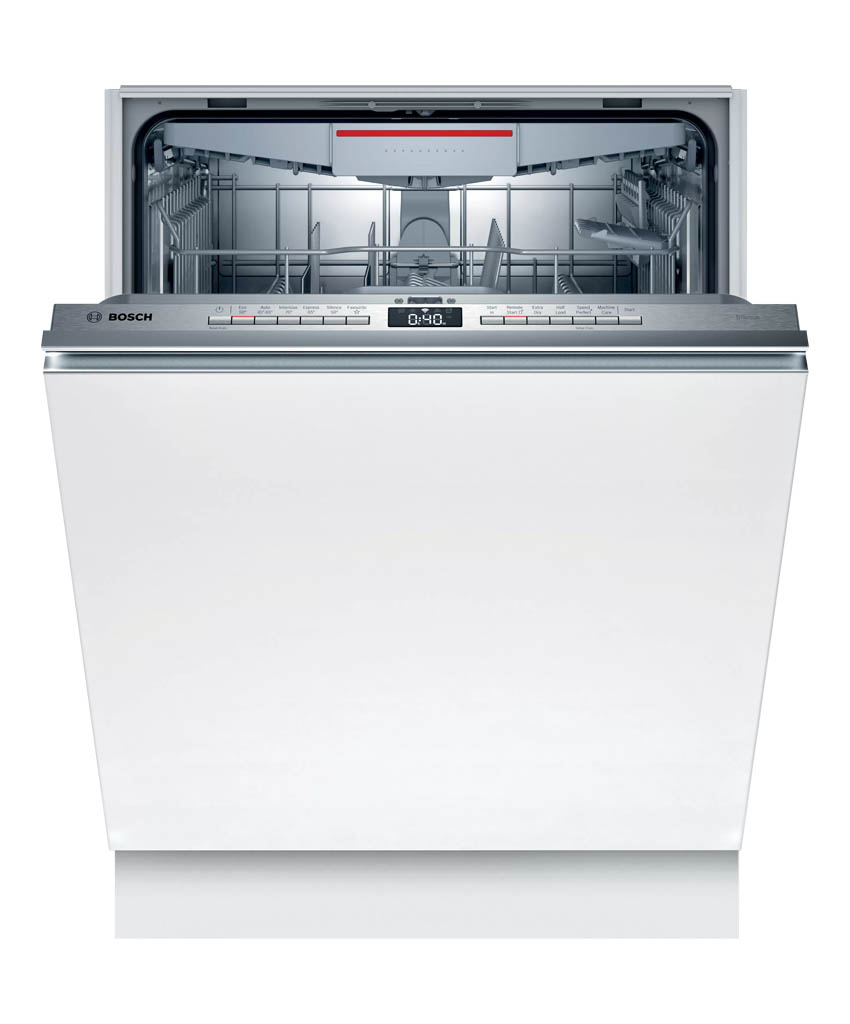
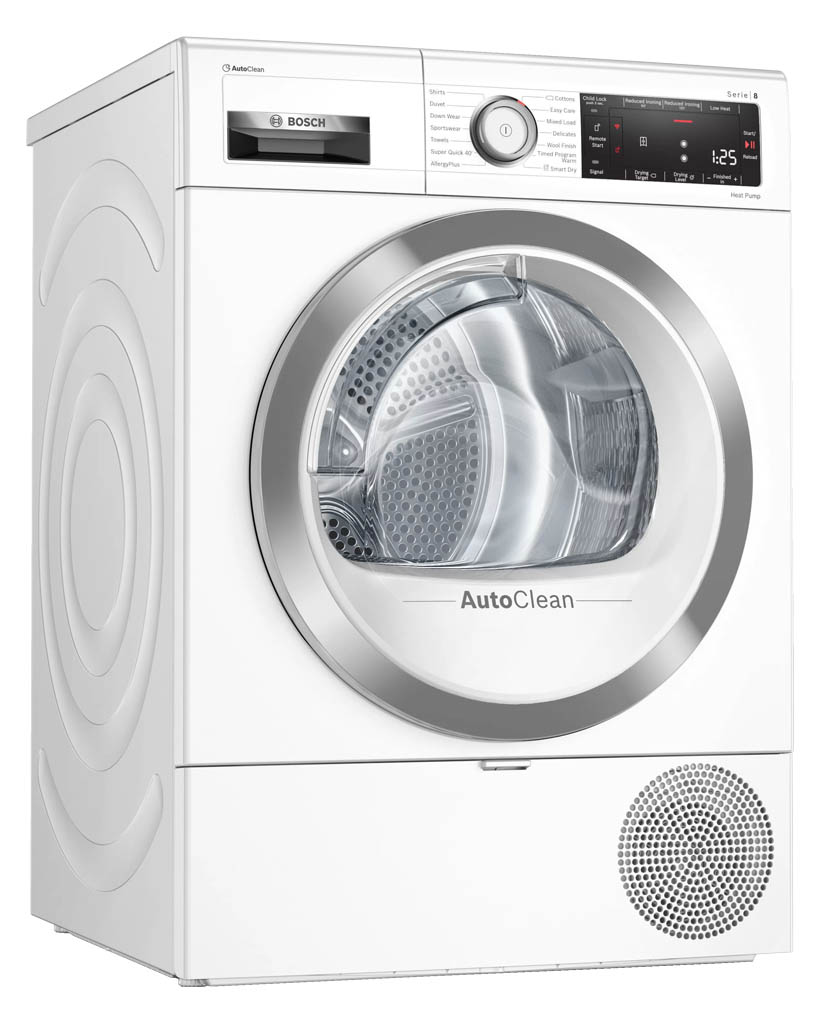
I’ve recently replaced both my dishwasher and tumble dryer and by a, sort of, coincidence, both replacement models happened to include smart connectivity features. Both devices are made by Bosch and they support the Home Connect smart platform, which is shared by Bosch, Siemens and Neff. Some manufacturers offer smart functionality, but the advantage of Home Connect is that they provide a public API, which means you can integrate them very easily into Home Assistant.
Now you can use the built-in Home Connect integration, and it’ll probably work fine for most people, but I didn’t get on with it. I stumbled across a third-party integration called Home Connect Alt (https://github.com/ekutner/home-connect-hass).
For those who are interested, I have the following models:
Prerequisites
One of the biggest benefits of this integration for me is the ability to set the delayed start time in Home Assistant, but that’s a spoiler for later on. You need to start by making sure that you have HACS installed in Home Assistant. See the instructions at hacs.xyz or watch my HACS video for a tutorial on how to do that.
The next requirement is to make sure that your Home Assistant installation is accessible externally on the internet so as Home Connect can authorise your access. Again, I have another tutorial video on how to do that, or you can follow my tutorial here.
Install Home Connect Alt
The Home Connect Alt integration is already available in HACS with no need to add a custom repository, so open the HACS front page, choose Integrations, click on the Explore and Download Repositories button in the bottom right, search for Home Connect Alt. Click on it to open up its information page, and follow the Download prompts to install it.
When that has finished, if you click on the back arrow in the top-right, you should see the integration has been installed but it's circled in bright red saying it needs a restart… do not restart just yet! We need to do a little bit of manual configuration to link the integration with your Home Connect account.
Configure the My Home Assistant service
Firstly we must configure the My Home Assistant service. Visit the URL: https://my.home-assistant.io/ and edit the ‘Home Assistant Instance’ field to be the external URL for your Home Assistant instance. If you followed my guide, this will be the duckdns URL. From this point on you must use the same web browser on the same computer to configure everything.
Create a Home Connect Developer Application
Next we visit: https://developer.home-connect.com
Sign up as a developer making sure that the "user account name" is your existing Home Connect account, which is the one you sign in to the Home Connect app with. Choose a new developer username, and in the Account Type select “(Open Source) Community” - you may have to fill in a bit more information about this and I suggest you note down Home Assistant as the open source application you are connecting to.
Once you've signed up, at the top of the page, choose ‘Applications’ and click on ‘Register Application’
Type in something for the application ID… this is just a label, so you can call it something like HomeAssistant.
Leave the OAuth Flow as Authorization Code Grant Flow, then fill in your Home Connect app user account again.
Now comes the redirect URI. This must be written exactly as I have written is here:
https://my.home-assistant.io/redirect/oauth
This is a special redirect URL that uses the location we set up in the previous step. Once you’ve filled everything in, click on Save. You’ll then be presented with a Client ID and a Client Secret.
Wait for a bit...
Now comes a critical step. Walk away from your computer for an hour. Totally walk away. The next steps might work straight away, they might not, but I really do suggest you just leave this whole thing for an hour to make sure that the IDs you’ve just set up activate properly. Have you waited an hour? Good, carry on then.
Configure Home Assistant
Back over in Home Assistant, you’ll need to edit your configuration files. As usual, I suggest using the File editor add-on for simplicity. Open the configuration.yaml file and add the following lines:
home_connect_alt:
  client_id:
  client_secret:
Then you need to paste in the client_id and client_secret values from the Home Connect developer site like this… and save.
NOW you can restart Home Assistant!
Once back up, make sure that you are accessing your Home Assistant installation using the EXTERNAL URL. That’s the same one you used in the My Home Assistant configuration. When you’ve triple-checked that, go to Settings, Devices & Integrations, choose Home Connect Alt, and then click on the Open Website button.
You’ll be asked to log on, so click on the “Log in with Home Connect” option and click on the Log in button. Sign in with your Home Connect account, the one you use for the app NOT the developer account, then click on the Approve button, and finally on the Link Account button.
Over in Home Assistant again and you should see a ‘Success’ message, and your devices reading to import! Click on Finish and you’re ready to go.
Automation ideas...
What can we do with this then? Well, I’m clutching at straws for useful automations here, but I think the one I have for my dishwasher is probably the most useful. Every evening, I have to schedule my dishwasher to run an eco cycle at half-past midnight when my off-peak tariff begins. That either involves pressing a series of buttons on the dishwasher itself which might roughly get it to start at some point after the required time, or opening the app and choosing the right options. Both of those methods take a couple of minutes. But I’ve turned that whole process into an automation initiated by the press of a single button. I've used a physical Ikea shortcut button, but it could be a boolean helper in Home Assistant that’s controlled by an Alexa command if you wanted. Let’s look at how it works:
alias: 'Dishwasher: Schedule Button Pressed v2'
description: ''
trigger:
  - platform: state
    entity_id: sensor.schedule_the_dishwasher_button_action
    to: 'on'
    variables:
      dishwasher_mode: Dishcare.Dishwasher.Program.Eco50
  - platform: state
    entity_id:
      - sensor.schedule_the_dishwasher_button_action
    to: brightness_move_up
    variables:
      dishwasher_mode: Dishcare.Dishwasher.Program.Intensiv70
condition: []
action:
  - if:
      - condition: state
        state: 'off'
        entity_id: switch.401080530467000752_bsh_common_setting_powerstate
    then:
      - service: notify.alexa_media
        data:
          message: 'On'
          target: media_player.echo_dot_kitchen
          data:
            type: tts
      - service: notify.oliver
        data:
          message: >-
            Dishwasher scheduled to run at {{
            states('input_datetime.off_peak_energy_start') }} tonight
      - service: homeassistant.turn_on
        data: {}
        target:
          entity_id: switch.401080530467000752_bsh_common_setting_powerstate
      - delay:
          hours: 0
          minutes: 0
          seconds: 5
          milliseconds: 0
      - service: home_connect_alt.start_program
        data:
          device_id: 76ce3ad5f77e7dd294be52512c04be4b
          program_key: '{{ dishwasher_mode }}'
          options:
            - key: BSH.Common.Option.StartInRelative
              value: >-
                {{ ((today_at(states('input_datetime.off_peak_energy_start')) -
                now()).seconds) |int }}
    else:
      - service: notify.oliver
        data:
          message: Dishwasher schedule cancelled
      - service: notify.alexa_media
        data:
          message: 'Off'
          target: media_player.echo_dot_kitchen
          data:
            type: tts
      - service: button.press
        data: {}
        target:
          entity_id: button.401080530467000752_stop
      - delay:
          hours: 0
          minutes: 0
          seconds: 30
          milliseconds: 0
      - service: homeassistant.turn_off
        data: {}
        target:
          entity_id: switch.401080530467000752_bsh_common_setting_powerstate
mode: restart
The automation is triggered by either a short press or a long press of the button. A short press sets a variable called dishwasher_mode to the value 'Dishcare.Dishwasher.Program.Eco50' which means ‘eco’. A long press sets the variable to Intensive (or 'Dishcare.Dishwasher.Program.Intensiv70'), so if the dishes were really dirty, I can just long press the button and it’ll do an intensive wash cycle that evening instead.
Then we have the actions. We check that the dishwasher is already off, and if so I play a text-to-speech alert out of the Echo speaker to say ‘On’, send a notification to my watch, and then send a power on request to the dishwasher. Importantly, the next step is to wait for 5 seconds for the dishwasher to actually turn on, and then we tell the dishwasher to start the required program when our off peak energy rates kick in. A couple of things to note here - I have a date-time helper which stores the off-peak energy rates start time. Because I use this specific time in all sorts of integrations, if that time was to change I’d rather change it in one place (the helper) rather than hunt around for every automation that might be using it. The second thing to note is that you can’t just tell the dishwasher to start at a specific time. You need to tell it how long to wait before starting. The little calculation within the template on line 49 takes the start time and works out how many seconds it is until that time, then passes that value to the start_program service.
The final part of this automation triggers if the dishwasher was already on when the button was pressed. It sends some notifications, stops the current cycle, waits 30 seconds, and then turns off the dishwasher.
How do I find my device_id??
You can find that out either by creating a new automation and choosing your appliance device as a trigger (so dishwasher, tumble dryer, etc) in the automation GUI, then checking the YAML code to see what it used as the device_id, or you can go into Developer Tools > Services, then set the service as home_connect_alt.select_program, make sure UI mode is enabled, choose your device, then switch to YAML mode to view it. A bit long winded, but basically this is a part of the automation that's a lot easier in UI mode than it is in YAML mode!
Tumble Dryer
And now it’s time to discuss the tumble dryer. And there’s not much you can talk about here. The only automation I’ve come up with so far is for it to announce out of the Echos whenever it has finished running, and it'll also power off the tumble dryer at the same time because when WiFi is enabled on a Bosch tumble dryer, it stays on until you either physically turn it off by the button, or remotely in the app. I’m not even going to walk you through this automation, but here it is in case you are interested. Genuinely, if anyone has come up with any different and useful automations for their connected tumble dryer then please get in touch to let me know!
alias: 'Tumble Dryer: Power Off When Finished'
description: ''
trigger:
  - platform: state
    entity_id:
      - sensor.bosch_wtx88rh9gb_68a40e73a624_bsh_common_status_operationstate
    to: BSH.Common.EnumType.OperationState.Finished
    for:
      hours: 0
      minutes: 2
      seconds: 0
condition: []
action:
  - service: notify.alexa_media
    data:
      message: Tumble dryer has finished
      data:
        type: tts
      target:
        - media_player.echo_dot_kitchen
        - media_player.echo_dot_lounge
  - device_id: f0dc13ca9945e59a874cc0e481bf7bcb
    domain: select
    entity_id: select.bosch_wtx88rh9gb_68a40e73a624_bsh_common_setting_powerstate
    type: select_option
    option: BSH.Common.EnumType.PowerState.MainsOff
mode: single