
Money-Saving Automations 1: Heating

Most smart-home automations seem to fit in to at least one of four categories: there’s convenience, such as letting you know that the dog wants to go outside; there’s showing off, like disco-mode LEDs; security, such as an alarm system; and there are those which save you money. I’ve realised that the majority of my automations fall into that last category so I thought I’d put together an on-going series of videos and articles specifically to talk about all of the different money-saving automations that I have in place and hopefully give you some inspiration for your own home automations. I’m going to kick off by talking about heating your home.
For most people, heating their home is one of their biggest household expenses, and to some extent it’s one that you can control by just using your heating less. But, there will be an impact to your comfort levels if you just turn it off or down. There are ways to be smart about how you do that in order to achieve a balance between saving money and being comfortable.
Firstly, a disclaimer: with most smart home solutions, you really aren’t going to save any money overall if you have to go out and buy a load of new gadgets for hundred of pounds just to save a couple of quid a year - I would generally assume that you already have a smart home controller for other purposes and want to utilise that to its full potential.
But - a smart heating system really can save you money and really will break even on its purchase price over a few years if you stick with it. There are a number of different solutions out there such as Hive, Tado and Honeywell Evohome which all include smart radiator valve controllers. This means you can control the heating temperature and schedule in each of your rooms individually, so no more over-heating your bedrooms because the old thermostat in the hall hasn’t got warm yet.
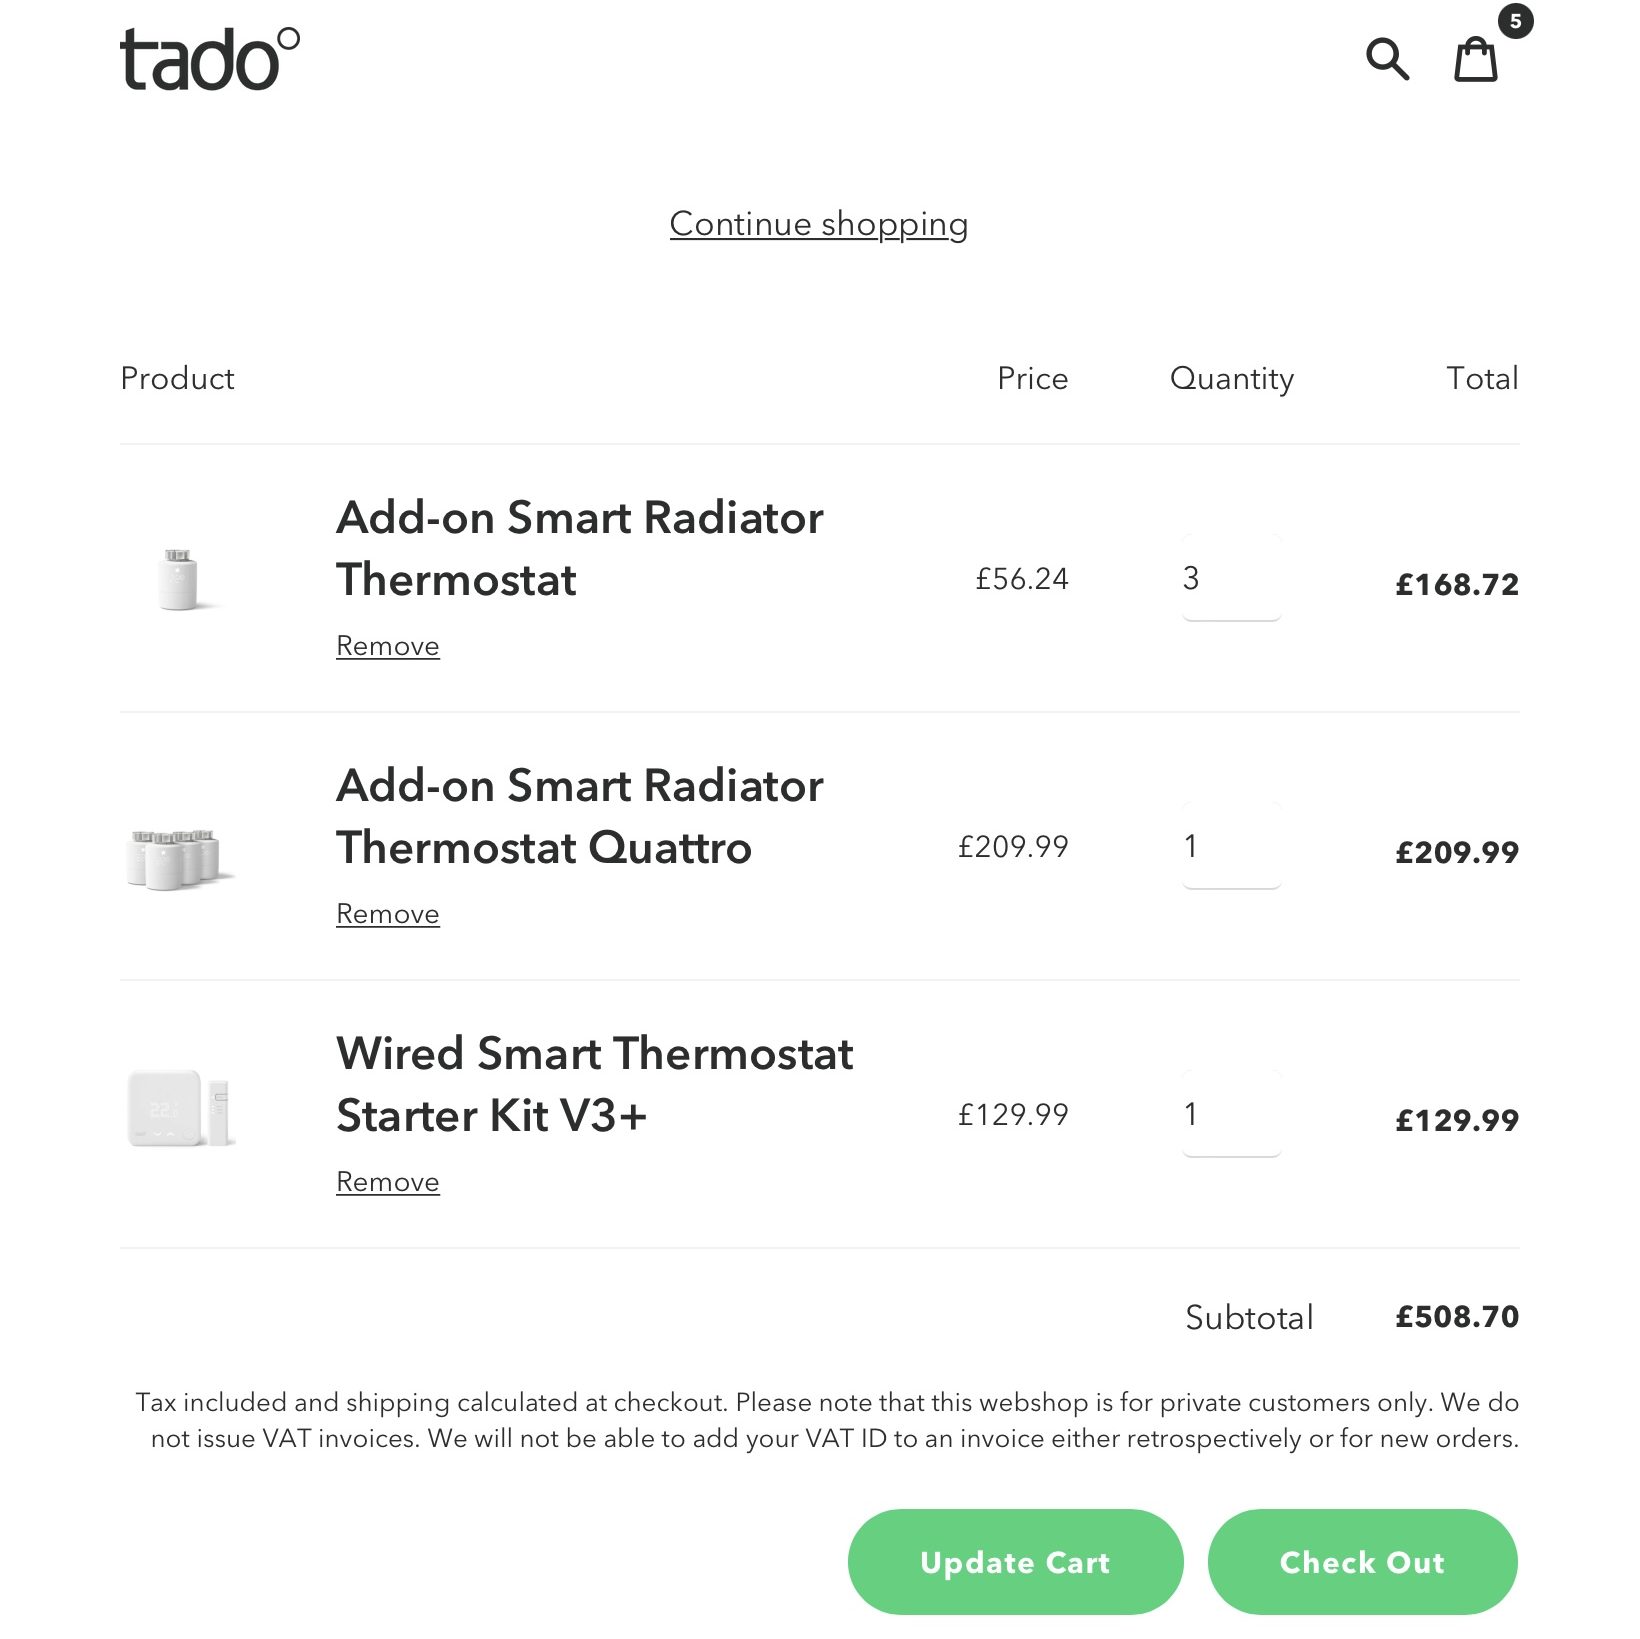
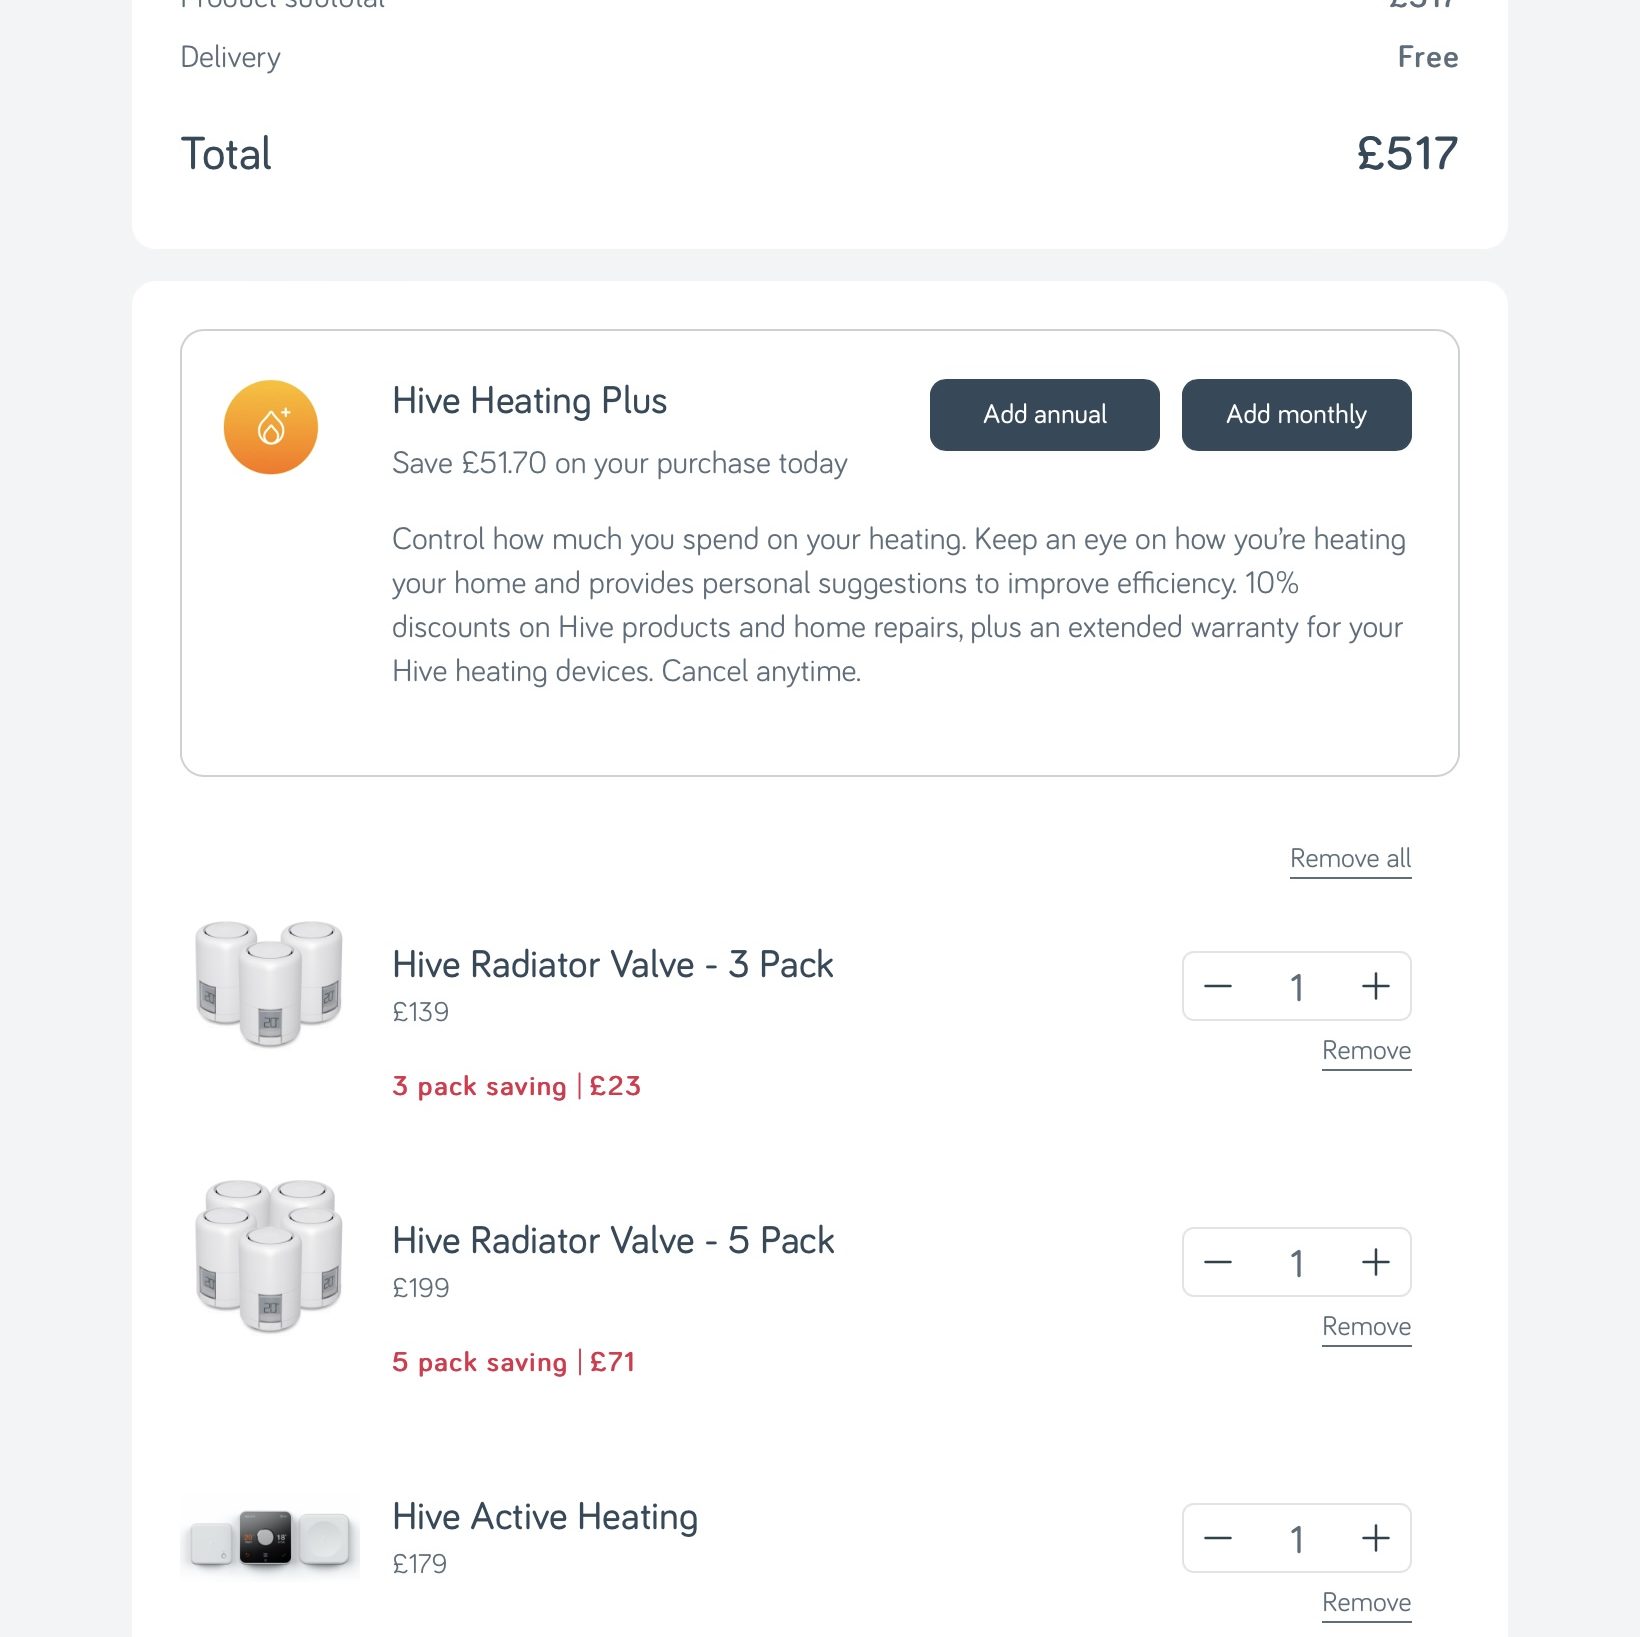
Let’s do some maths. Take a typical UK three-bedroom house with a combi boiler. The average gas bill in the UK for this type of home is currently £1970 per year. I priced up a Hive heating controller with 8 radiator valves for £517, and a similar Tado system for £508.
Now, I couldn’t find any recent data for how much Hive multi-room claims to save you per year on your bills, but Honeywell reckon their system could save you up to 40% and Tado up to 30%. I think both of those are a bit too optimistic, but let’s say that a 20% saving is far more reasonable. 20% off an annual £1970 bill is £394, so by that estimate by the end of your second winter your bill savings would have covered the cost of that system and saving you money overall from that point on. To me this is a no brainier!
I personally chose the Honeywell Evohome system about 5 years ago because at the time there wasn’t much choice for multi-room heating controllers, and although I don’t have any specific data to back this up because I just wasn’t tracking it then, I am very certain it has paid for itself and saved me money.
Anyway, let’s say that you’ve already made that decision and installed an off-the-shelf smart heating system, and you’ve connected it to your smart home hub. In my case, that’s Home Assistant. What can you do with it to help you save even more money? Here are just a couple of ideas.
Idea 1: Turn off the heating when the doors are left open
This first idea is really simple to implement. If for some reason, one particular member of your household has a habit of leaving a door open for hours on end, then there’s very little point in your boiler running just to have all that heat sucked straight out into your back garden. To minimise that, I created an automation that monitors the status of my doors.
alias: 'Heating: Doors Left Open (Save current mode and disable heating)'
description: ''
trigger:
  - platform: state
    entity_id: group.doors
    to: 'on'
    for:
      hours: 0
      minutes: 2
      seconds: 0
condition:
  - condition: not
    conditions:
      - condition: state
        entity_id: climate.controller
        state: away
        attribute: preset_mode
      - condition: state
        entity_id: climate.controller
        state: 'off'
      - condition: state
        entity_id: climate.controller
        state: home
        attribute: preset_mode
action:
  - service: input_text.set_value
    target:
      entity_id: input_text.evohome_mode_before_disabling
    data:
      value: '{{ states(''climate.controller'') }}'
  - service: input_text.set_value
    target:
      entity_id: input_text.evohome_preset_before_disabling
    data:
      value: '{{ state_attr(''climate.controller'',''preset_mode'') }}'
  - service: notify.persistent_notification
    data:
      message: >-
        Disabling heating because a door has been left open. Previous State = {{
        states('climate.controller') }} / {{
        state_attr('climate.controller','preset_mode') }}
  - service: homeassistant.turn_on
    target:
      entity_id: input_boolean.evohome_heating_disabled_by_doors
    data: {}
  - service: evohome_cc.set_system_mode
    data:
      entity_id: climate.controller
      mode: heat_off
mode: single
alias: 'Heating: Doors Closed (Resume previous mode)'
description: >-
  Sets the Evohome mode to the previously saved value from before the doors were
  left open
trigger:
  - platform: state
    entity_id: group.doors
    to: 'off'
    for:
      hours: 0
      minutes: 0
      seconds: 0
condition:
  - condition: state
    entity_id: input_boolean.evohome_heating_disabled_by_doors
    state: 'on'
action:
  - service: homeassistant.turn_off
    target:
      entity_id: input_boolean.evohome_heating_disabled_by_doors
    data: {}
  - choose:
      - conditions:
          - condition: state
            entity_id: input_text.evohome_preset_before_disabling
            state: eco
        sequence:
          - service: notify.persistent_notification
            data:
              message: Doors Closed. Setting Evohome to Eco Mode
          - service: evohome_cc.set_system_mode
            data:
              entity_id: climate.controller
              mode: eco_boost
      - conditions:
          - condition: state
            entity_id: input_text.evohome_preset_before_disabling
            state: custom
        sequence:
          - service: notify.persistent_notification
            data:
              message: Doors Closed. Setting Evohome to Custom (Visitors) Mode
          - service: evohome_cc.set_system_mode
            data:
              entity_id: climate.controller
              mode: custom
      - conditions:
          - condition: state
            entity_id: input_text.evohome_preset_before_disabling
            state: none
        sequence:
          - service: notify.persistent_notification
            data:
              message: Doors Closed. Setting Evohome to Auto Mode
          - service: evohome_cc.set_system_mode
            data:
              entity_id: climate.controller
              mode: auto
    default: []
mode: single
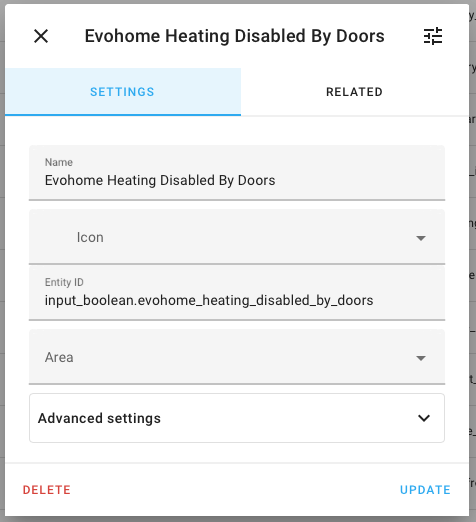
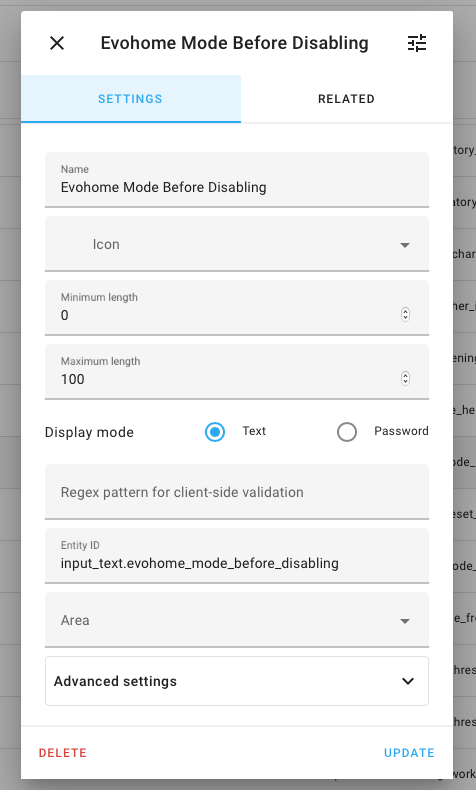
If they’re left open for 2 minutes and the heating is on, it turns it off. Once the doors are closed, it’ll turn back on. I went a little bit further with this automation though - before turning the heating off, I also store the current heating mode and preset in a text helper, that could be auto, eco, or custom (which I use for when we have visitors). Then, when the doors close I can simply restore those exact presets. You will need three 'helpers' as part of these automations. The first is an input_boolean to keep track of whether the heating has been disabled by the doors being left open or not. When the doors are eventually closed, the status of this helper is checked (and reset if needed) and the heating mode restored if necessary. The final two helpers are of the type input_text and used to store the previous mode and preset values.

Idea 2: Weather-based Heating
There comes a point in the springtime when you need to make a decision: is it warm enough to turn the heating off yet? Well, I’ve delegated that decision to an automation. My Evohome heating system also has an eco mode, which drops the set points by 2 degree. This is really useful for those in-between days when you still might need a little bit of heating. First off, you need a weather forecast.
I use the UK’s Met Office API to pull in a forecast for my local area. What I’m after is the forecast minimum and maximum temperatures for today. Below is an example of how I am using the API to create a REST sensor entity, that I then in turn use to create three more sensor entities for the high and low forecast temperates, plus the date of that forecast.
sensor:
  # ===============================================================
  # Met Office API
  - platform: rest
    name: metoffice_forecast_pyle
    resource: http://datapoint.metoffice.gov.uk/public/data/val/wxfcs/all/json/353131?res=daily&key=YOUR_MET_DATAPOINT_API_KEY_HERE
    scan_interval: 3600
    timeout: 30
    value_template: 'OK'
    json_attributes:
     - SiteRep
  - platform: template
    sensors:
      metoffice_forecast_pyle_high:
        friendly_name: "Met Office Forecast Pyle: High"
        value_template: '{{ states.sensor.metoffice_forecast_pyle.attributes["SiteRep"]["DV"]["Location"]["Period"][0]["Rep"][0]["Dm"] }}'
        unit_of_measurement: "°C"
      metoffice_forecast_pyle_low:
        friendly_name: "Met Office Forecast Pyle: Low"
        value_template: '{{ states.sensor.metoffice_forecast_pyle.attributes["SiteRep"]["DV"]["Location"]["Period"][0]["Rep"][1]["Nm"] }}'
        unit_of_measurement: "°C"
      metoffice_forecast_pyle_date:
        friendly_name: "Met Office Forecast Pyle: Date"
        value_template: '{{ states.sensor.metoffice_forecast_pyle.attributes["SiteRep"]["DV"]["Location"]["Period"][0]["value"] }}'
Note that you'll need to sign up for an API key first, and you'll need to know the Met Office's location ID of where you'd like a forecast for. In my example you can see '353131', but to find out your location ID you need to view the site list. Using your API key, call the following URL in your browser:
http://datapoint.metoffice.gov.uk/public/data/val/wxfcs/all/xml/sitelist?key=YOUR_MET_DATAPOINT_API_KEY_HERE
I then define some thresholds for what I consider to be acceptable external temperatures for when I think we need the heating to kick in. I store these values in a couple of number helpers. Personally, I find 18 degrees as the upper threshold and 8 degrees as the low threshold to be best for my needs. That means that if the highest forecast temperature is above 18 degrees AND the lowest forecast temperature is above 8 degrees, then the heating is not needed.
I then put together a script which takes this information and ultimately makes a decision as to which mode my heating system should be put in. At the top of the script I have defined some dates. One of these dates signifies the start of Spring/Summer, the other date signifies the start of Autumn/Winter. You can tweak these as you see fit, and their relevance will become clear in a second. There's also a select option helper to store the output decision and a text helper to store some logging information.
alias: 'Heating: Choose Mode Based On Met Weather Forecast'
variables:
  date_summer_start: 04-15
  date_winter_start: 09-25
  forecast_temperature_today_low: '{{ states("sensor.metoffice_forecast_pyle_low")|float }}'
  forecast_temperature_today_high: '{{ states("sensor.metoffice_forecast_pyle_high")|float }}'
  heating_threshold_low: '{{ states("input_number.heating_threshold_temperature_low")|float }}'
  heating_threshold_high: '{{ states("input_number.heating_threshold_temperature_high")|float }}'
  output_select_entity: input_select.heating_mode_from_weather_forecast
  output_logging_entity: input_text.heating_mode_from_weather_forecast_log
sequence:
  - choose:
      - conditions:
          - condition: template
            value_template: '{{ forecast_temperature_today_low >= heating_threshold_low }}'
          - condition: template
            value_template: '{{ forecast_temperature_today_high >= heating_threshold_high }}'
        sequence:
          - choose:
              - conditions:
                  - condition: template
                    value_template: >-
                      {{ date_summer_start <=
                      now()|as_timestamp|timestamp_custom('%m-%d', False) <=
                      date_winter_start }}
                sequence:
                  - service: input_text.set_value
                    data:
                      value: >-
                        ({{now().strftime("%Y-%m-%d %H:%M:%S")}}) - forecast
                        temp above thresholds. Dates are in summer. Setting mode
                        to OFF.
                    target:
                      entity_id: '{{ output_logging_entity }}'
                  - service: input_select.select_option
                    data:
                      option: 'Off'
                    target:
                      entity_id: '{{ output_select_entity }}'
            default:
              - service: input_text.set_value
                data:
                  value: >-
                    ({{now().strftime("%Y-%m-%d %H:%M:%S")}}) - forecast temp
                    above thresholds. Dates are in winter. Setting mode to ECO.
                target:
                  entity_id: '{{ output_logging_entity }}'
              - service: input_select.select_option
                data:
                  option: Eco
                target:
                  entity_id: '{{ output_select_entity }}'
    default:
      - choose:
          - conditions:
              - condition: template
                value_template: >-
                  {{ date_summer_start <=
                  now()|as_timestamp|timestamp_custom('%m-%d', False) <=
                  date_winter_start }}
            sequence:
              - service: input_text.set_value
                data:
                  value: >-
                    ({{now().strftime("%Y-%m-%d %H:%M:%S")}}) - forecast
                    temperatures are below thresholds. Dates are in summer.
                    Setting mode to ECO.
                target:
                  entity_id: '{{ output_logging_entity }}'
              - service: input_select.select_option
                data:
                  option: Eco
                target:
                  entity_id: '{{ output_select_entity }}'
        default:
          - service: input_text.set_value
            data:
              value: >-
                ({{now().strftime("%Y-%m-%d %H:%M:%S")}}) - DEFAULT. forecast
                temperatures are below thresholds. Dates are in winter. Setting
                mode to On (Auto).
            target:
              entity_id: '{{ output_logging_entity }}'
          - service: input_select.select_option
            data:
              option: 'On'
            target:
              entity_id: '{{ output_select_entity }}'
mode: single
The script starts by comparing the forecast temperatures to the thresholds you have defined. If the forecast is above those thresholds then we move on to checking the date. If the date is during the summer months, we don’t need heating so we set the output helper to ‘off’. If we’re in the winter months, we put the mode in eco. It’s likely that this scenario happens around the start or the end of the winter months.
Then we hit the alternative condition that the forecast temperatures were below the thresholds. If today’s date is during the summer months, it’s a cold day, so let’s set the mode to eco just in case. And finally we have the ultimate default fail-safe option which infers that the weather is cold and we’re in winter, so turn the heating on!
So how do you use this script then? Well, create yourself an automation that runs in the early hours of the morning. I suggest 3am because this avoids the potential lost hour during a change of daylight savings. The very first action of this automation is to call this script, which makes a decision on which heating mode you require.
alias: 'Heating: Set Mode Based On Weather Forecast v2'
description: ''
trigger:
  - platform: time
    at: '03:00'
condition:
  - condition: state
    entity_id: input_boolean.manual_override
    state: 'off'
action:
  - service: script.heating_choose_mode_based_on_met_weather_forecast
    data: {}
  - condition: not
    conditions:
      - condition: state
        entity_id: climate.controller
        attribute: preset_mode
        state: away
  - condition: not
    conditions:
      - condition: state
        entity_id: climate.controller
        attribute: preset_mode
        state: custom
  - choose:
      - conditions:
          - condition: state
            entity_id: input_select.heating_mode_from_weather_forecast
            state: Eco
        sequence:
          - service: evohome_cc.set_system_mode
            data:
              entity_id: climate.controller
              mode: eco_boost
      - conditions:
          - condition: state
            entity_id: input_select.heating_mode_from_weather_forecast
            state: 'Off'
        sequence:
          - service: evohome_cc.set_system_mode
            data:
              entity_id: climate.controller
              mode: heat_off
    default:
      - service: evohome_cc.set_system_mode
        data:
          entity_id: climate.controller
          mode: auto
mode: single
Then, I added a couple of conditions. I don’t want this automation to run if our heating system is set to away, or if I’m using a custom (visitor) mode because I’ve already set the mode I require manually. If I’m not using one of my manually set modes, then we can carry on. The automation checks the helper value set by the script and sets the heating mode accordingly.